01
Verify Fitment
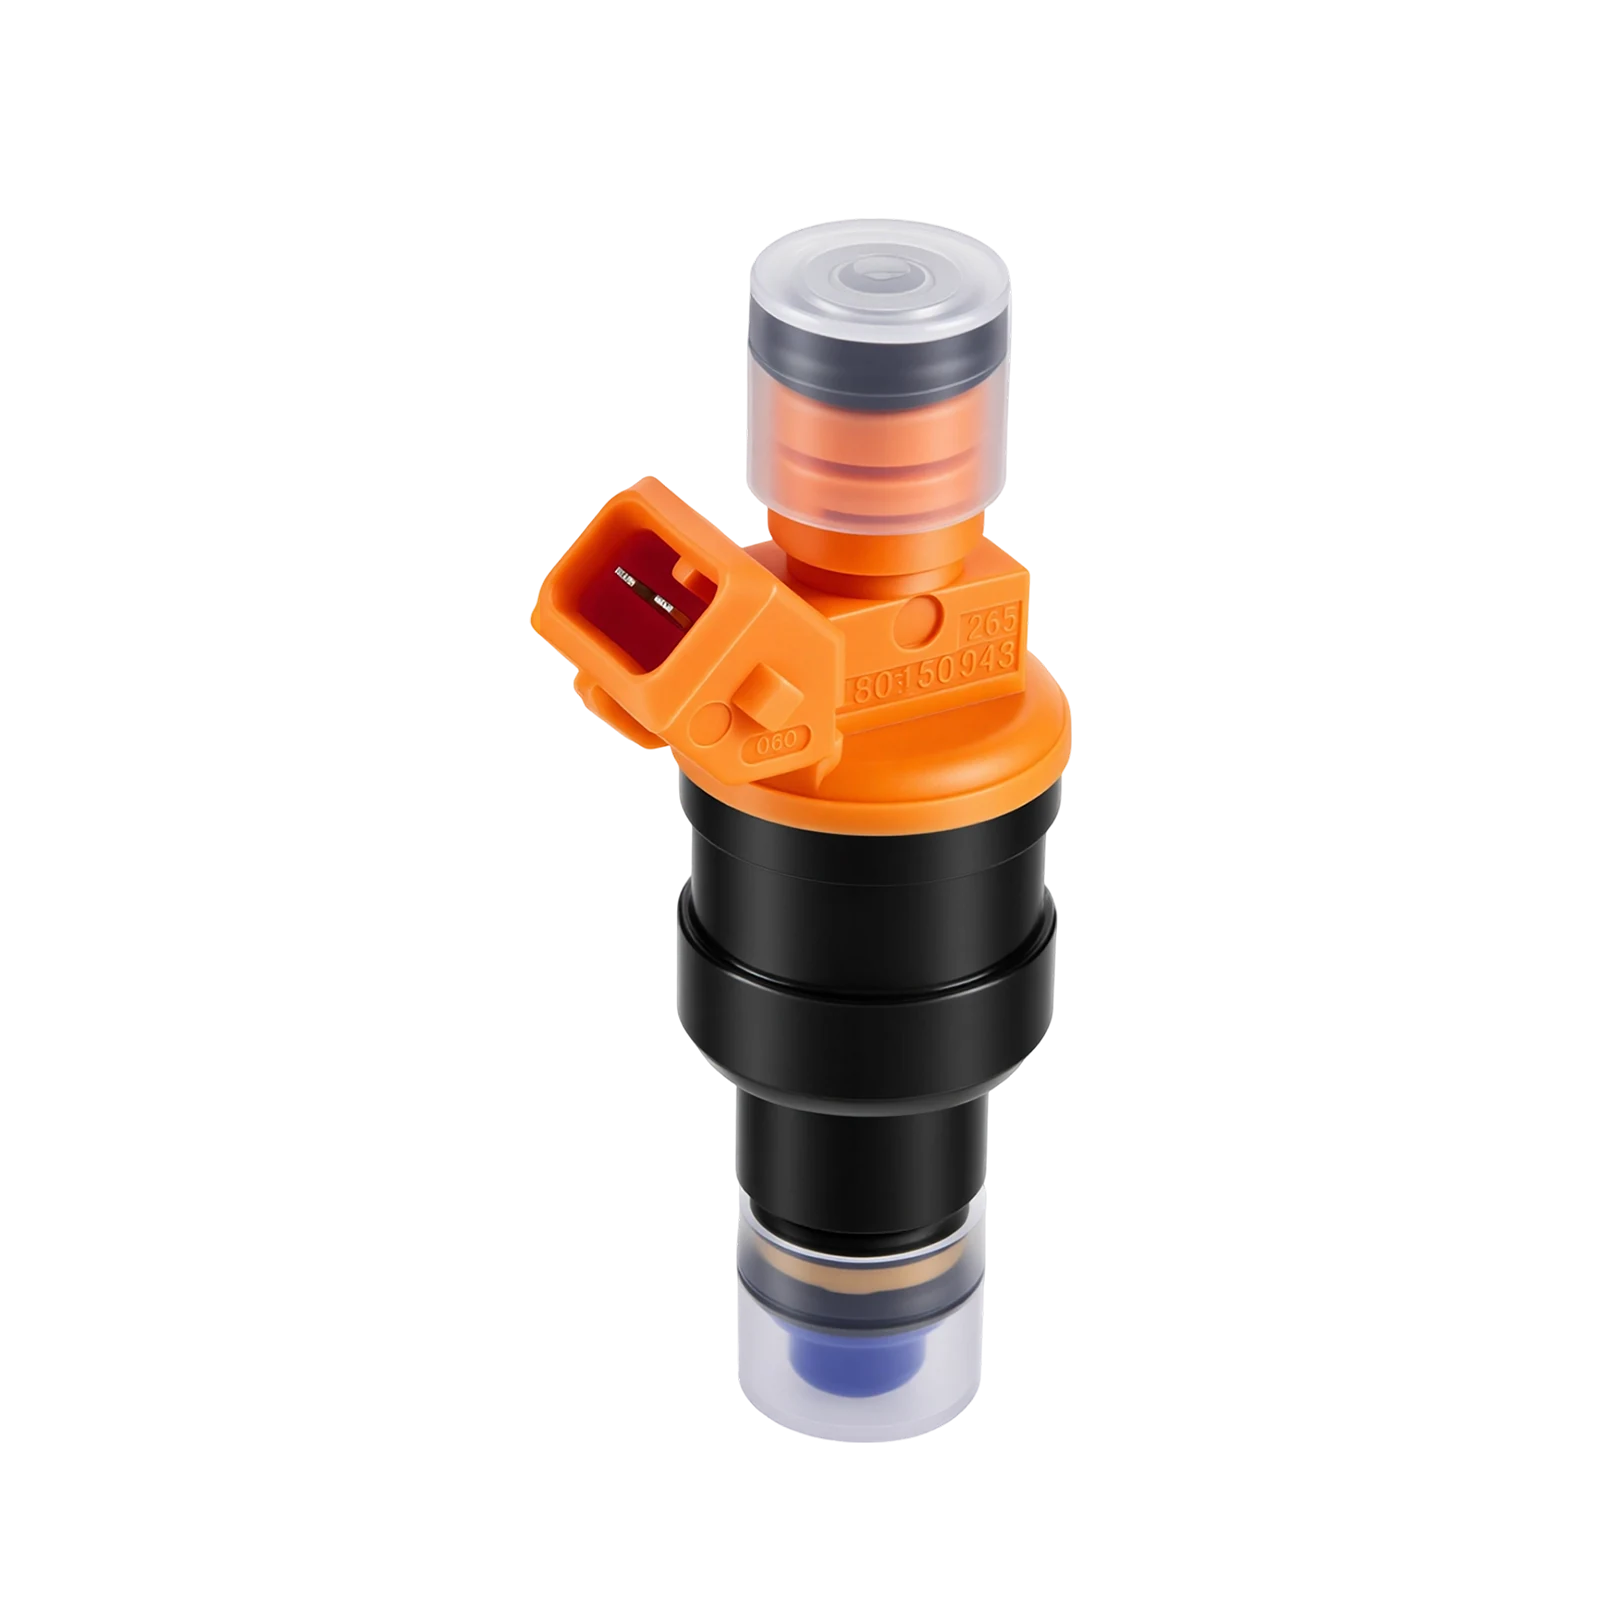
Match the vehicle year, make, model, engine, and OE part number. Compare the connector, injector length, and seal positions with the original part.

Port Fuel Injection · PFI / MPI
Follow these steps to replace a port fuel injector safely, from relieving fuel pressure to checking for leaks.
Follow these steps to replace a port fuel injector safely, from relieving fuel pressure to checking for leaks.
Installation support
Have your Amazon order number, vehicle details, and product information ready so our team can help.
Confirm
Confirm the part and review the service manual before opening the fuel system.
Confirm the part and review the service manual before opening the fuel system.
Match the vehicle year, make, model, engine, and OE part number. Compare the connector, injector length, and seal positions with the original part.
Find the correct pressure-relief procedure, removal steps, required tools, and torque specifications. Identify any seals or other parts that must be replaced.
Prepare safely
Gasoline can ignite easily. Work on a cool engine and keep dirt out of the fuel system.
Gasoline can ignite easily. Work on a cool engine and keep dirt out of the fuel system.
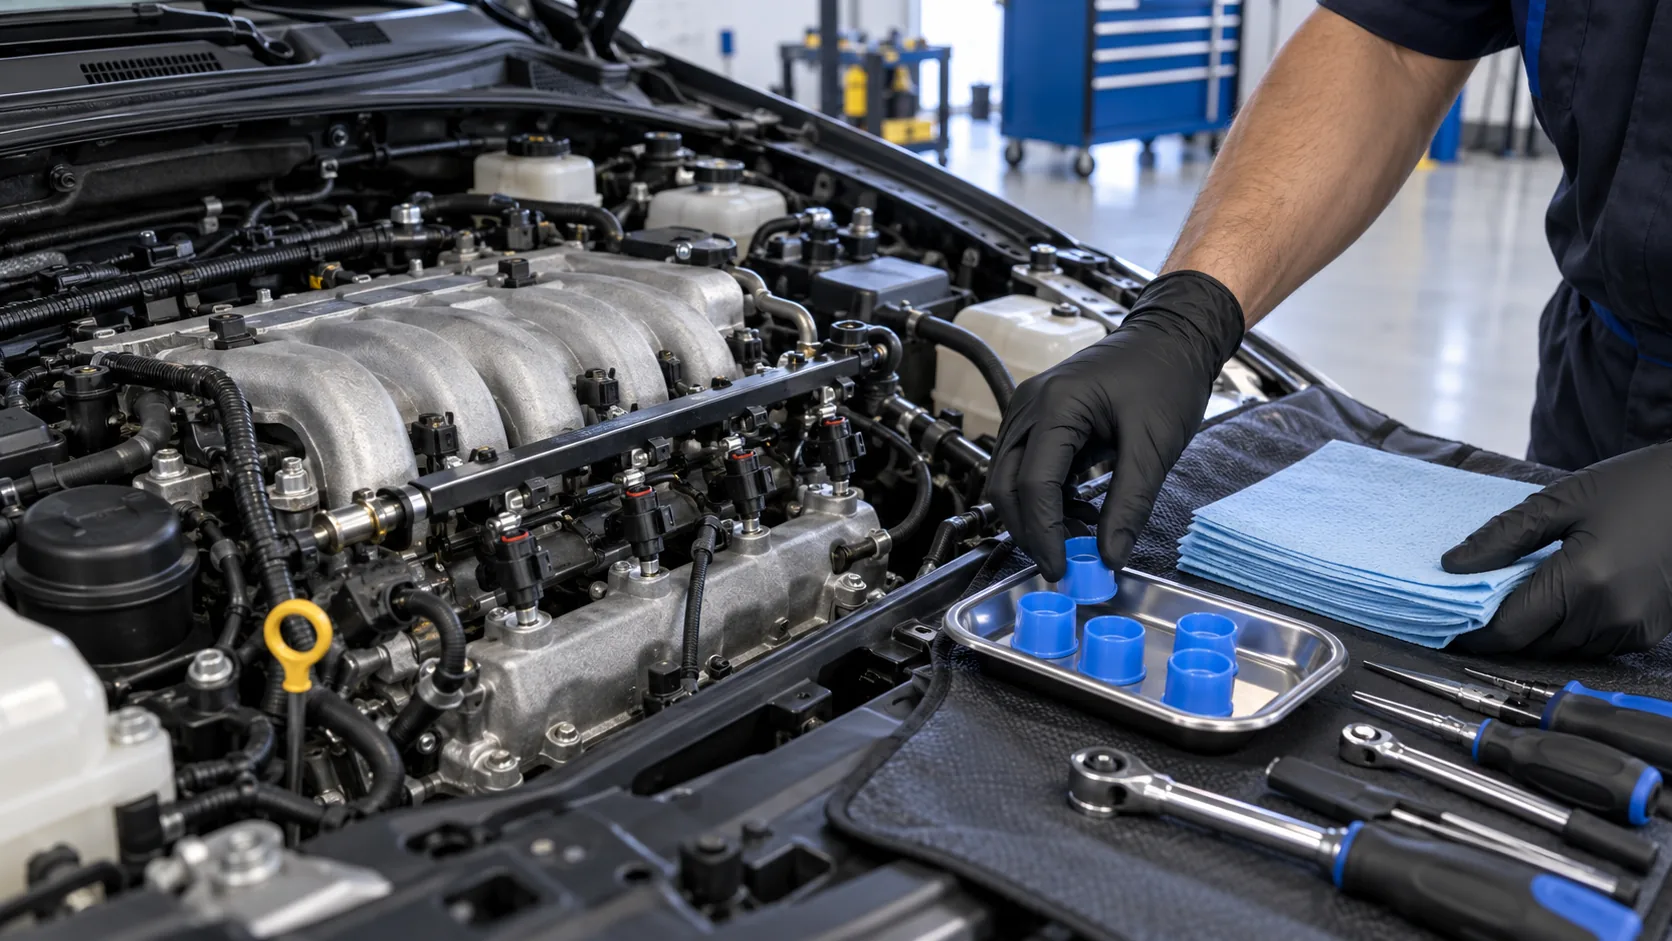
Work in a well-ventilated area. Do not smoke. Keep sparks, open flames, hot surfaces, and other ignition sources away. Wear eye protection and fuel-resistant gloves. Keep approved absorbent material nearby.
Wait until the engine is fully cool. Disconnect the negative battery cable only if the service manual tells you to.
Access
Assume the fuel system is pressurized until you complete the vehicle-specific pressure-relief procedure.
Assume the fuel system is pressurized until you complete the vehicle-specific pressure-relief procedure.
Follow the pressure-relief procedure specified for your vehicle before opening the system. Treat every fuel line as pressurized until the procedure is complete.
Remove covers, intake ducts, and other components in the order specified in the service manual. Label any hoses, brackets, or connectors that could be mixed up.
Clean around the fuel rail and injector openings. Keep dirt, loose hardware, and cleaning debris out of the engine and fuel system.
Release each connector lock before pulling. Pull on the connector body, not the wires. Check the terminals, seals, and harness clips.
Replace
Protect every opening and remove every old seal before installing the new injectors.
Protect every opening and remove every old seal before installing the new injectors.
Disconnect the fuel line using the procedure in the service manual. Catch any remaining fuel and cover open connections with clean, fuel-safe caps.
Remove the brackets and bolts in the correct order. Lift the rail evenly. Do not bend the rail or pry against plastic parts.
Note the injector direction, clip position, and seal location. Make sure every old O-ring comes out. Never place a new seal over an old one.
Use new O-rings or seals. Check them for cuts, twists, or dirt. Use only the lubricant listed in the service manual or injector instructions.
Install each injector straight without forcing it. Reinstall the clips and fuel rail. Tighten all fasteners to the specified torque, then reconnect the fuel lines and electrical connectors.
Verify
Check every connection with the engine off. Start the engine only after confirming that there are no leaks.
Check every connection with the engine off. Start the engine only after confirming that there are no leaks.
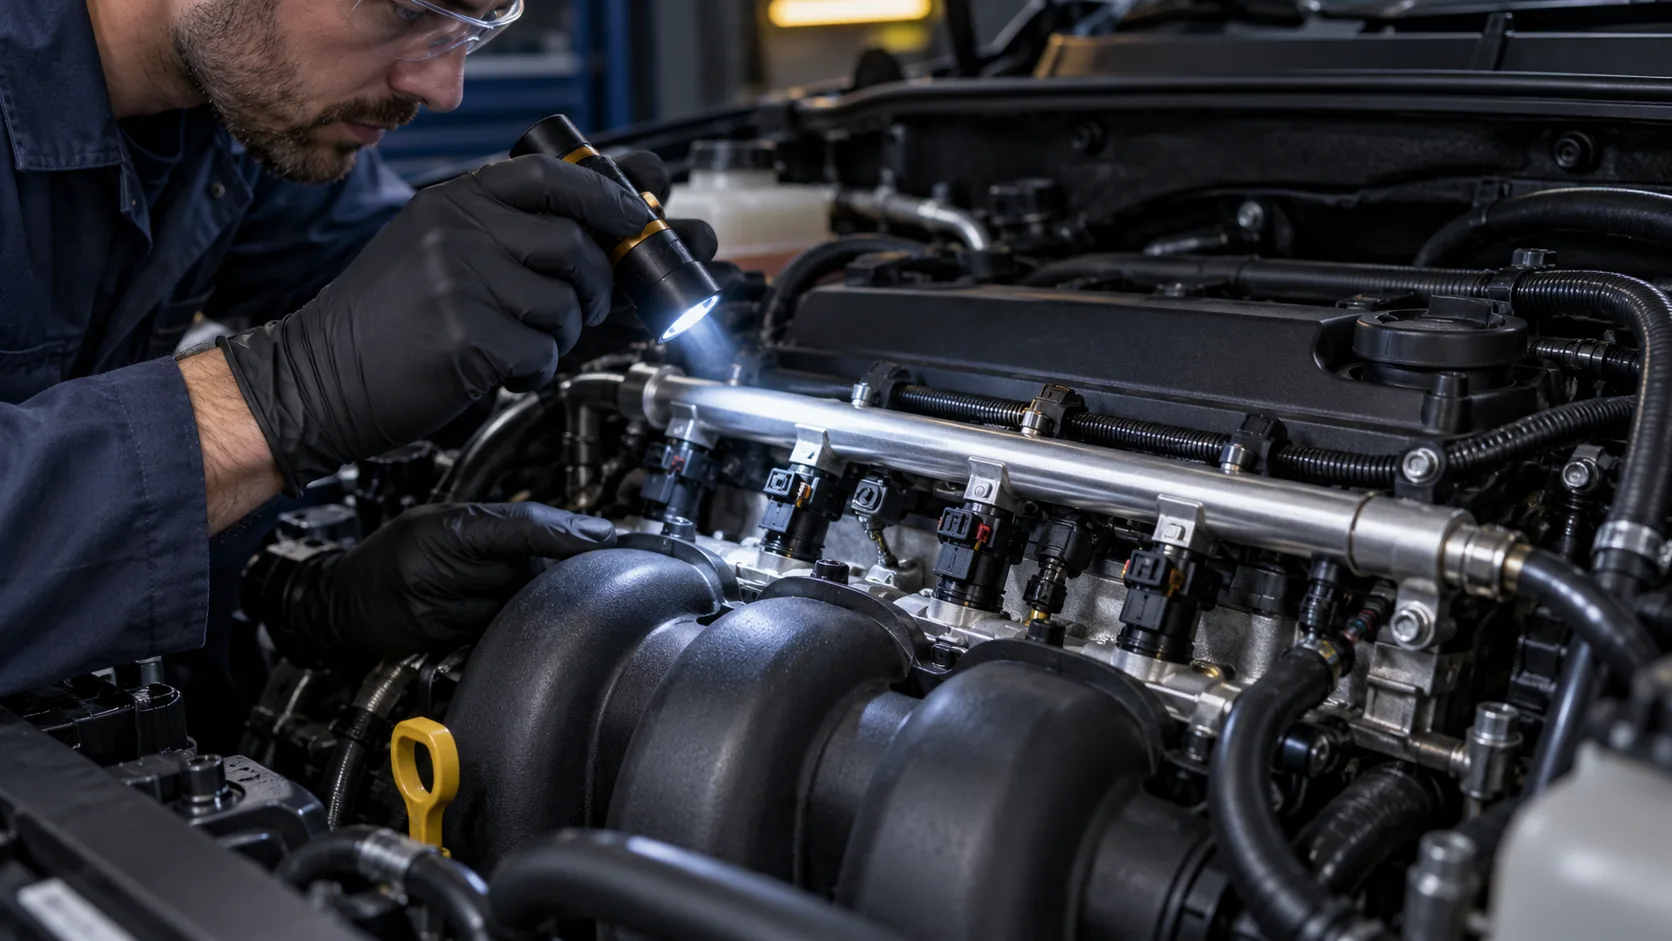
Build fuel pressure as directed in the service manual. Keep the engine off and inspect every connection. Start the engine only if no leaks are found, then check again for leaks and warning lights.